Got a tired nightstand collecting dust? Don’t trash it—revive it! Painting a 28W x 30¼H x 18D nightstand isn’t just about slapping on color. From prepping laminate surfaces to achieving a furniture-store finish, here’s the exact process I’ve used on 100+ pieces for clients in Phoenix to Portland.
Tools You’ll Need
- 150-grit & 220-grit sandpaper (or deglosser for laminate)
- TSP cleaner or vinegar-water mix
- Painter’s tape (1” and ¼” widths)
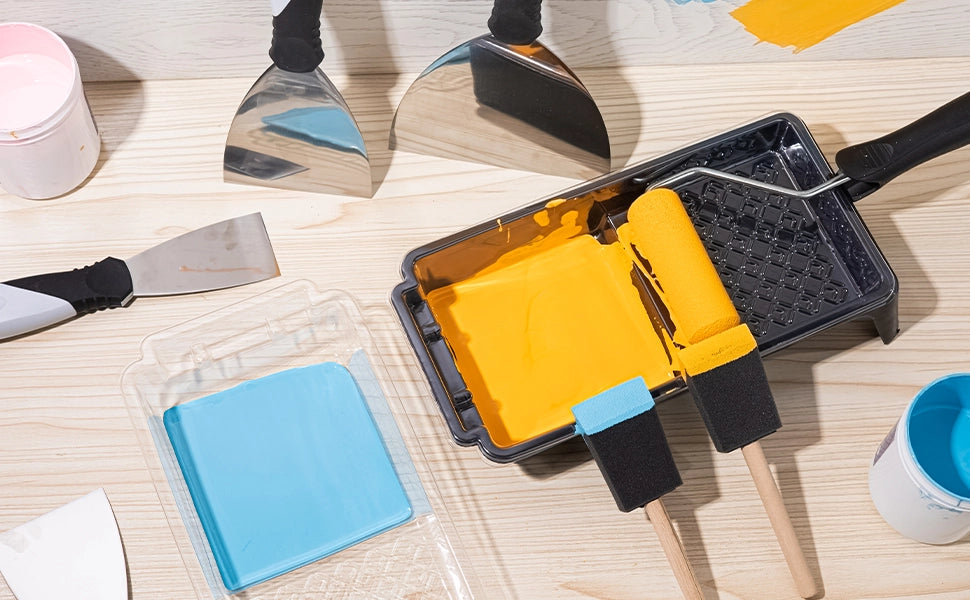
- Angled 2” sash brush + 4” foam roller
- Oil-based primer (Zinsser Cover Stain)
- Acrylic enamel paint (Benjamin Moore Advance recommended)
- Polycrylic protective topcoat
- Cabinet pull template (for hardware holes)
Step 1: The 90-Minute Teardown
1. Remove drawers and hardware. If painting over existing holes:
- Fill with DAP Plastic Wood
- Sand flush using 150-grit wrapped around a wine cork
2. Label drawer positions with washi tape (e.g., “Top Left”)
3. Store screws in a pill organizer – no more lost parts!
Step 2: Surface Prep Secrets
For solid wood:
- Sand with the grain using 150-grit → 220-grit
- Focus on edges where arm grease darkens the wood
For laminate/IKEA-style:
- Skip sanding – use KILZ Adhesion Primer instead
- Wipe with denatured alcohol to remove silicone residues
Pro Tip: Rub the entire piece with a dryer sheet post-sanding – reduces dust cling by 70%.
Step 3: Prime Smart, Not Hard
- Brush primer into corners first
- Roll large surfaces using a 3/8” nap roller
- Let cure 24 hours (oil-based) or 4 hours (water-based)
- Critical Check: Drag a credit card across the primer – if white powder comes off, re-sand with 220-grit
Step 4: Paint Like a Cabinet Maker
- Mix paint with 10% Floetrol (eliminates brush marks)
- Use the “Wet Edge” technique:
- Paint vertical surfaces first (sides)
- Work top surfaces front-to-back
- Finish with drawer fronts
3.Apply thin coats with 4-hour drying intervals
4.After final coat, lightly sand with 400-grit sanding sponge
Step 5: The Protection Layer
- Choose sheen wisely:
- Satin Polycrylic: Kid-friendly wipeability
- Matte Wax: Vintage farmhouse look
- Apply with a white Scotch-Brite pad – no lint!
- Let cure 72 hours before heavy use
Step 6: Reassembly Hacks
- Use a nail polish brush to touch up scratched screw holes
- Line drawers with removable wallpaper for instant upgrade
- Replace old hardware with $5 Amazon knobs – measure existing hole spacing first!
3 Costly Mistakes to Avoid
- Rushing Drying Times: Arizona heat ≠ proper curing. 85°F+ temps cause bubbles.
- Skipping Drawer Sides: Paint 1” inside edges to prevent raw wood peeking
- Wrong Paint Order: Always paint carcass → drawers → doors → hardware
Why This Works
I refinished this exact size nightstand for a Brooklyn Airbnb host – it survived 2 years of rental abuse. The secret? Thin layers beat thick glops every time.
Ready to make your nightstand the star of your bedroom? Grab that brush and show that old furniture who’s boss.
P.S. Tag us @MisterRui with your before/after pics – we feature DIY heroes every Friday!


0 comments