
Hey there, if you're staring at those faded walls in your American home and thinking, "I could totally paint this myself," you're not alone. As a first-time painter, jumping into DIY can be thrilling—but let's be real, it's also a bit intimidating, especially when dealing with the quirks of older houses or the deceptive smoothness of new builds. I've been there, roller in hand, learning the hard way about cracks, drips, and those pesky brush marks that seem to appear out of nowhere. This beginner painting guide is here to help you sidestep common DIY painting mistakes, tackle real-world home challenges head-on, and come out with walls that look like a pro did them. We'll cover everything from prepping old cracks to smoothing new surfaces, all while keeping things simple and fun.
The Reality of U.S. Homes: Old Cracks vs. New "Perfect" Walls
Across the U.S., from historic East Coast row houses to brand-new West Coast suburbs, home walls throw curveballs at beginners. Older homes often hide hairline cracks from settling foundations or years of wear—ignore them, and your fresh paint will just highlight the flaws. Newer builds might look flat and ready, but subtle imperfections like drywall seams or texture variations can turn a smooth coat into a streaky mess. The key? Don't rush. Assess your walls first: Walk around with a flashlight to spot issues under angled light. For old houses, those cracks aren't deal-breakers; they're just opportunities to build your skills.
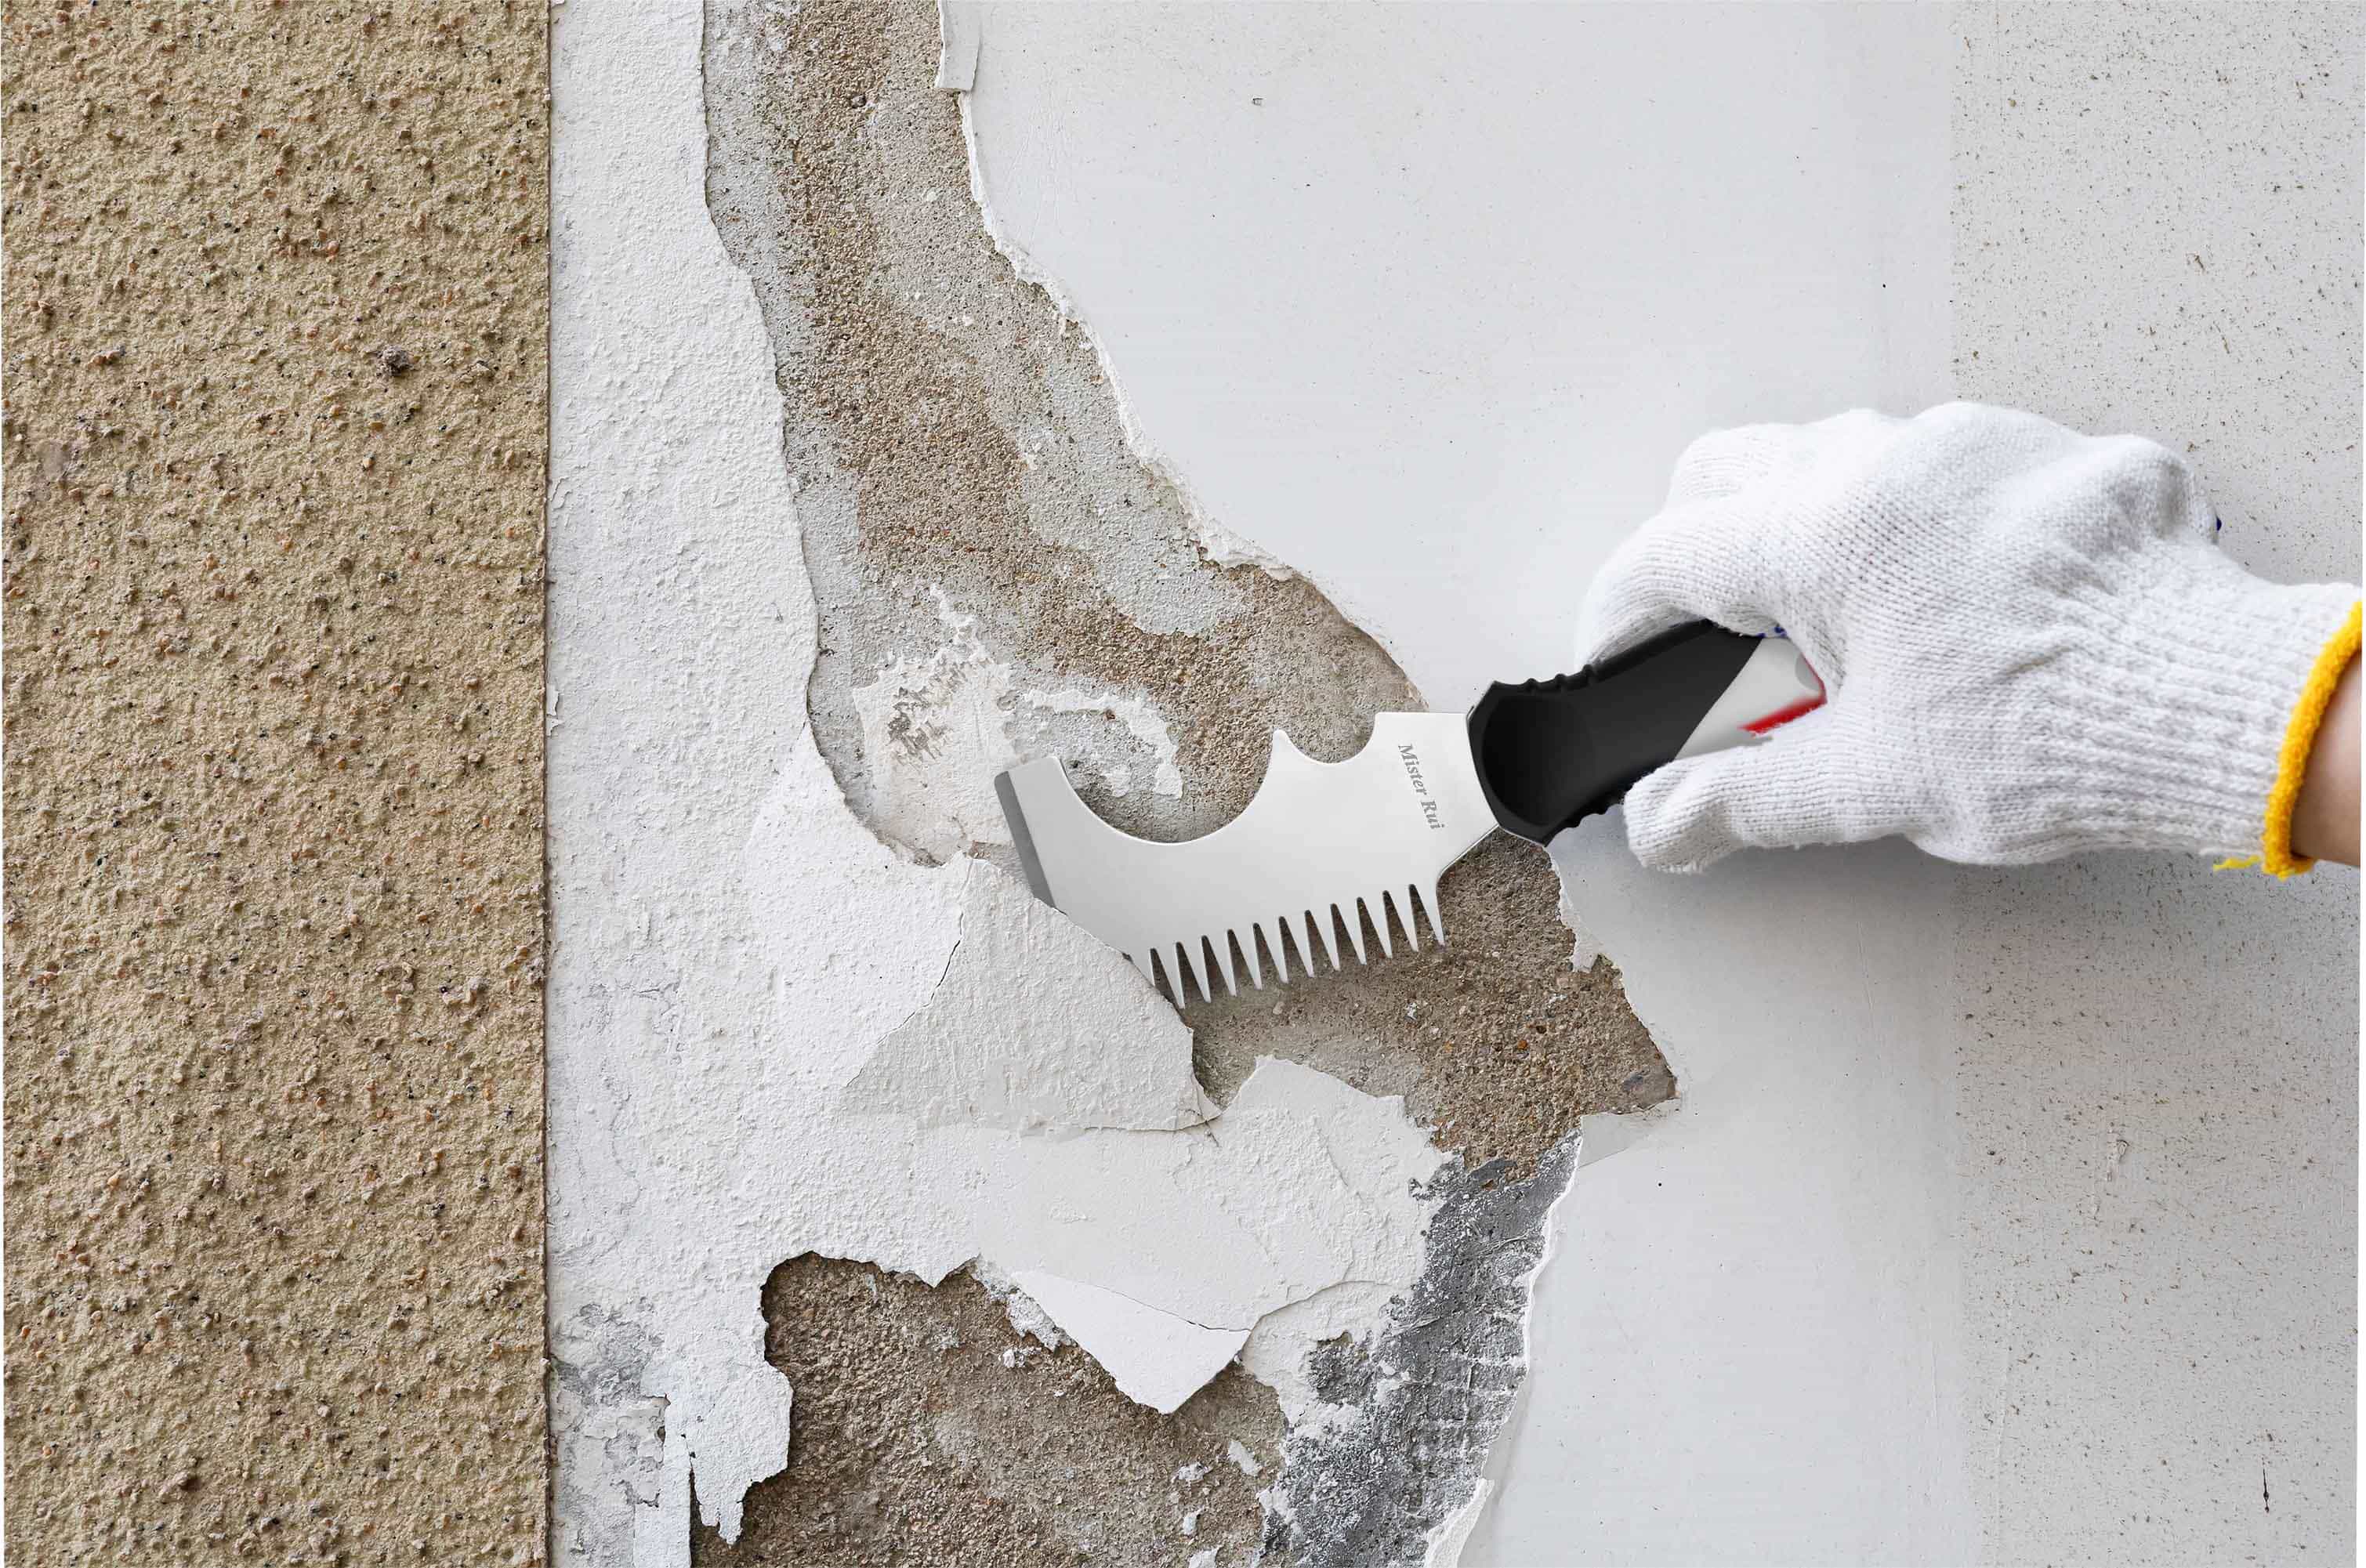
Prepping Like a Boss: Fixing Cracks in Older Homes
One of the biggest DIY painting mistakes newbies make is skipping prep, especially in older U.S. homes where cracks are as common as backyard barbecues. Start by cleaning the area with a damp cloth and mild soap—dust and grease are paint's enemies. For small cracks, grab some spackle or joint compound; apply it with a putty knife, let it dry (about 30 minutes), then sand smooth with 220-grit sandpaper. I once ignored a tiny fissure in my 1920s bungalow, and the paint peeled within months—lesson learned! Prime over the repair with a stain-blocking primer to seal it in. This step takes an hour tops but saves you from repainting later.
Smoothing Out New Home Walls: The Illusion of Flatness
Newer U.S. homes, like those cookie-cutter subdivisions in Texas or Florida, often come with walls that seem perfectly flat—but don't be fooled. Drywall tape lines or subtle bumps from installation can show up under paint, especially in bright sunlight. To avoid this common trap, lightly sand the entire wall with a pole sander and 120-grit paper to knock down high spots. Wipe away dust with a tack cloth (trust me, it's worth the $5 at Home Depot). If you're dealing with a textured wall, test your paint on a small area first; some finishes amplify the orange-peel look. A quick prime coat evens everything out, making your topcoat glide on like butter.
Avoiding Brush Marks: Techniques That Actually Work
Ah, brush marks—the bane of every first-time painter's existence. They sneak in when you're cutting in edges or touching up, leaving your walls looking like a kid's finger painting. The fix? Use a high-quality angled brush (synthetic for latex paint) and load it sparingly—dip just the tips, then tap off excess on a tray. Paint in long, even strokes, feathering the edges to blend. For rollers, choose a 3/8-inch nap for smooth walls and work in a "W" pattern, then back-roll vertically. I remember my first attempt: too much paint on the brush led to ridges everywhere. Now, I always thin the paint slightly (per the can's instructions) for a smoother flow. Practice on cardboard first—it's a game-changer.
Drip-Proof Strategies: Keep the Mess Minimal
Drips are another classic DIY painting mistake, turning your floor into a Jackson Pollock canvas. Start by using painter's tape on baseboards and drop cloths everywhere (old sheets work in a pinch). When loading your roller or brush, roll off excess in the tray—never straight from the can. Work from top to bottom, catching drips as you go with a damp rag. For ceilings, use an extension pole to avoid ladder mishaps. In humid spots like Southern states, paint early in the day before the air gets thick; drier conditions help prevent runs. Pro tip: If a drip dries, sand it lightly and touch up—no big deal.
Essential Tools and Paints for U.S. Beginners
Don't overload on gear—start simple. A 9-inch roller kit, angled brush, paint tray with liners, and blue painter's tape are must-haves. For paints, opt for low-VOC options like Behr or Sherwin-Williams, easy on the nose in family homes. Calculate coverage: One gallon does about 400 square feet, so measure your room to avoid waste. In colder Northern states, choose paints rated for low temps to prevent cracking.
Wrapping Up: Your Walls, Your Way
Diving into painting as a beginner doesn't have to end in frustration. By tackling those old-house cracks, smoothing new walls, and dodging brush marks and drips, you'll build confidence and a space that feels like home. Remember, every pro started somewhere—my first room was uneven, but now I love the process. Give it a shot this weekend; you might surprise yourself. If you mess up? Sand and repaint. That's the beauty of DIY.
0 comments