
A flawless paint job on your home’s trim starts long before you pick up a brush. For U.S. DIYers aiming to refresh baseboards, window frames, or door casings, proper preparation is the secret to success. This guide dives into sanding and cleaning steps, using a trim paint brush to spot surface flaws, and techniques to boost paint adhesion—ensuring your trim looks professional and lasts. Let’s get prepped!
Step 1: Sanding for a Smooth Base
Sanding preps the trim surface, removing imperfections and creating a grip for paint.
-
Tools Needed: Use 120-150 grit sandpaper for initial sanding, followed by 220 grit for a finer finish. A sanding block or orbital sander speeds up the process.
-
Technique: Sand along the grain of wood trim, focusing on rough spots, old paint edges, or gloss. For detailed areas like window mullions, wrap sandpaper around a small stick for precision.
-
Why It Works: This roughens glossy surfaces and smooths out dents, improving adhesion. Spend 15-20 minutes per 10-foot section for thorough coverage.
-
Pro Tip: Wear a dust mask and vacuum or wipe away dust with a tack cloth to avoid clogging the brush later.
Step 2: Cleaning to Remove Dirt and Grease
A clean surface is critical to prevent peeling or uneven paint.
-
Cleaning Method: Mix a solution of warm water and mild dish soap. Use a sponge or microfiber cloth to wipe down trim, focusing on high-touch areas like door frames. For stubborn grease (e.g., kitchen baseboards), add a teaspoon of vinegar.
-
Rinse and Dry: Wipe with a damp cloth to remove soap residue, then dry with a clean towel or let air dry for 30 minutes.
-
Why It Works: Grease and dust can repel paint, causing adhesion issues. This step takes 10-15 minutes per room but pays off with a durable finish.
-
Extra Step: For outdoor trim, use a pressure washer on low settings, followed by a mildew remover if mold is present.
Step 3: Using a Trim Paint Brush to Check Surface Defects
Before painting, a trim paint brush can help you inspect and address flaws.
-
Inspection Technique: Dip a 1-inch angled trim paint brush (like those in the Mister Rui Trim Brush Set) lightly in water or primer. Run it along the trim, feeling for rough patches, cracks, or uneven spots. The brush’s bristles will catch imperfections your eye might miss.
-
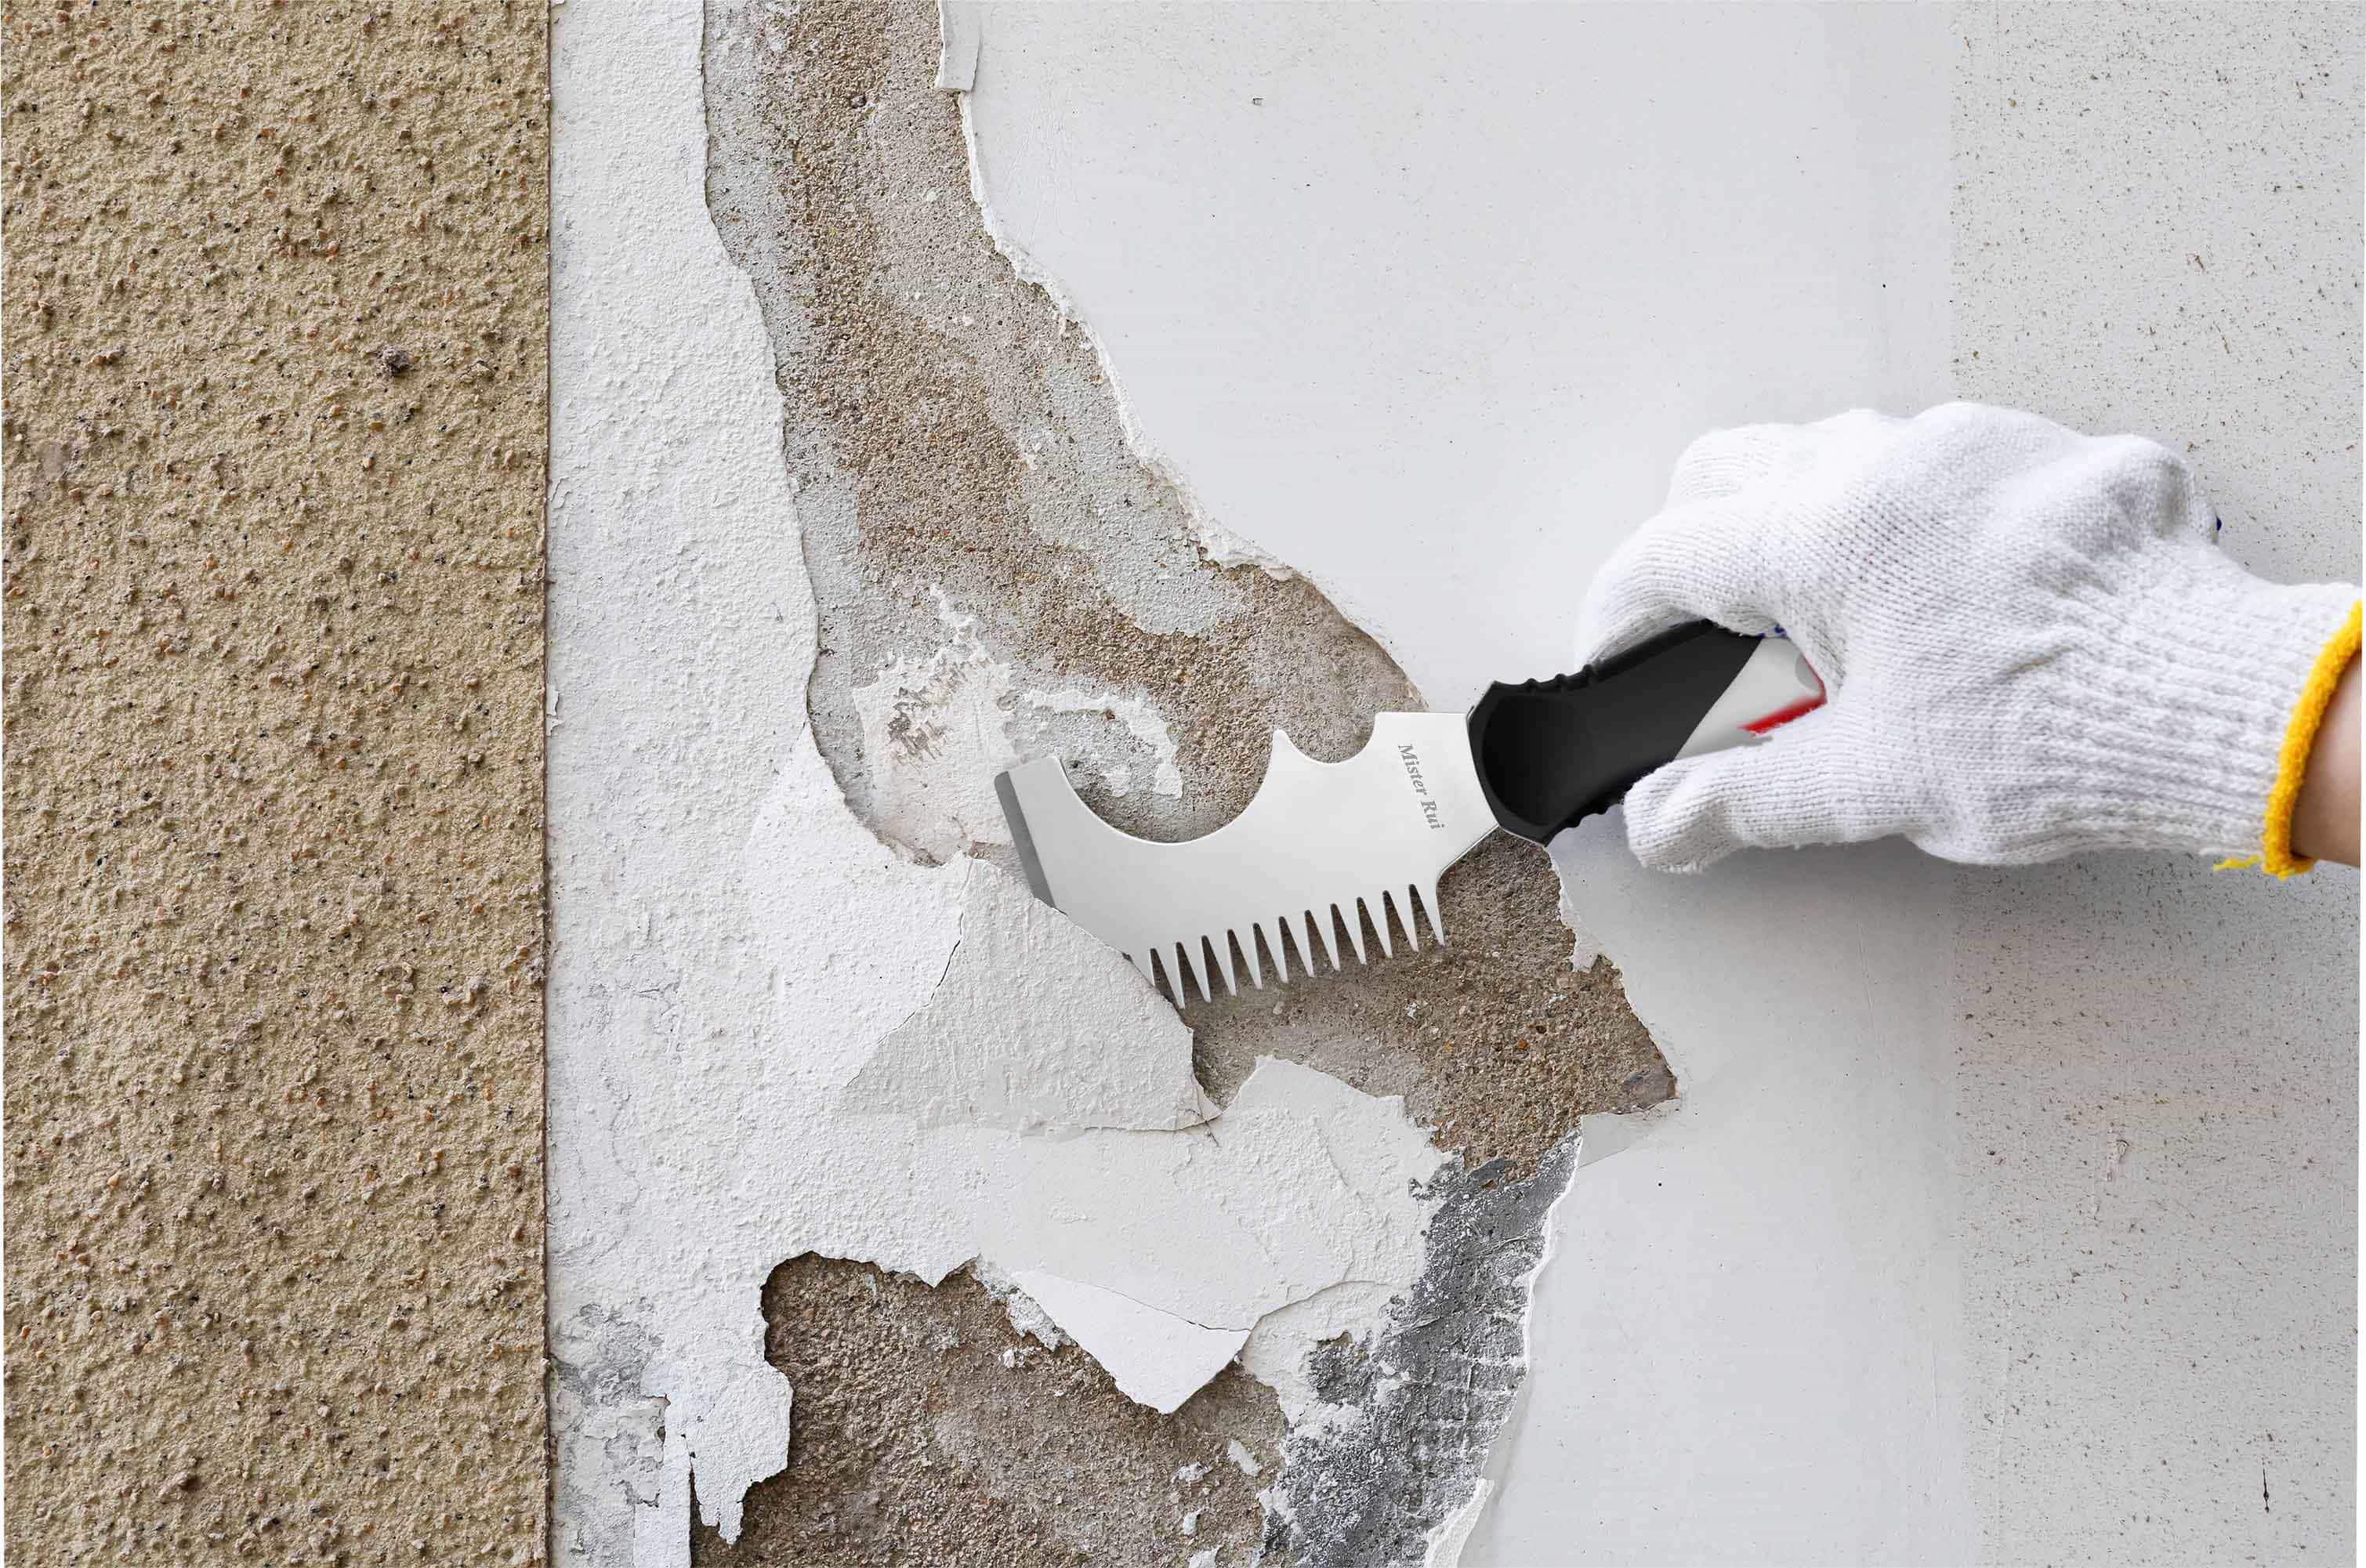
Fixing Flaws: Use a putty knife to fill cracks or holes with wood filler, let dry, and sand smooth. For peeling paint, gently scrape with the brush handle or a scraper, then sand.
-
Why It Works: This hands-on method ensures no defect is overlooked, especially on intricate moldings or curved edges. Spend 5-10 minutes per section.
-
User Insight: “Checking with my brush saved me from painting over a hidden crack—perfect prep!” – Mike, California DIYer.
Step 4: Boosting Paint Adhesion with Priming
A good primer sets the stage for a lasting paint job.
-
Primer Choice: Use a high-quality, trim-specific primer (e.g., oil-based for wood, latex for versatility). Apply with the same trim paint brush used for inspection, choosing a 3/4” width for balance.
-
Application: Brush on a thin, even coat, working in small sections (2-3 feet). Feather edges to avoid lines. Let dry for 1-2 hours (check label).
-
Why It Works: Primer seals the surface, covers stains, and enhances paint adhesion, reducing the need for multiple coats. This step takes 20-30 minutes plus drying time.
-
Pro Tip: Spot-prime repaired areas first, then coat the entire trim for uniformity.
Additional Preparation Tips
-
Tape Off Areas: Use painter’s tape to protect walls or floors, applying it 1/8 inch from the trim edge for clean lines.
-
Check Weather (for Outdoors): Paint when temperatures are 50-85°F and humidity is below 70% to ensure proper drying.
-
Test Adhesion: Rub a small primed area with a cloth—if it smears, clean or sand more.
Common Pitfalls to Avoid
-
Skipping Sanding: Glossy trim without sanding leads to peeling—don’t skip this step.
-
Inadequate Cleaning: Dirty surfaces cause bubbling; clean thoroughly.
-
Over-Priming: Thick primer layers crack—apply thinly and evenly.
Tools to Get Started
-
Trim Paint Brush: 3/4” or 1” angled for versatility.
-
Sandpaper: 120-220 grit.
-
Cleaning Supplies: Soap, vinegar, microfiber cloth.
-
Extras: Putty knife, painter’s tape, primer.
Final Thoughts
Prepping trim like a pro with a trim paint brush sets the foundation for a stunning finish. From sanding and cleaning to inspecting flaws and priming, these steps ensure your paint adheres and lasts. Grab your tools and start prepping your trim for a beautiful transformation today!
0 comments