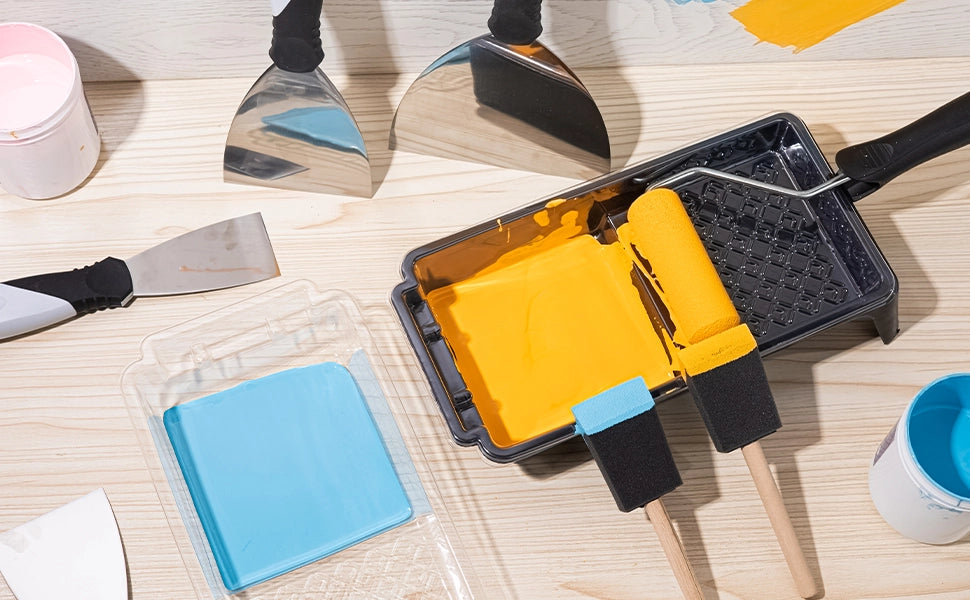
Transforming your walls doesn’t have to take weeks—with the right tools and a solid plan, you can achieve a stunning wall refresh in just one day. Perfect for busy American homeowners, this guide leverages paint rollers and brushes, paired with smart time management and tray efficiency, to help you tackle a DIY painting project from start to finish. Let’s dive into a step-by-step approach to make your space look brand new by sunset.
Efficient Painting Time Plan
A one-day wall refresh requires a tight schedule. Here’s a realistic timeline for a standard 12x12-foot room:
-
8:00 AM - 9:00 AM: Prep Work
Clear furniture, lay drop cloths, and tape off trim with painter’s tape. Use a putty knife to fill holes and sand lightly. -
9:00 AM - 10:00 AM: Priming
Apply a thin coat of primer with a roller for large areas and a brush for edges. Let it dry (check drying time on the can, typically 30-60 minutes). -
10:00 AM - 12:00 PM: First Coat
Roll on the base color with a 9-inch roller, using a tray to load evenly. Switch to a 2-inch angled brush for corners and trim. -
12:00 PM - 1:00 PM: Lunch Break
Allow the first coat to dry while you recharge. -
1:00 PM - 3:00 PM: Second Coat
Apply a second coat for full coverage, repeating the roller-brush combo. Focus on smooth, even strokes. -
3:00 PM - 4:00 PM: Cleanup and Touch-Ups
Remove tape, check for missed spots with a brush, and clean tools. -
4:00 PM: Admire Your Work!
Enjoy your freshly painted room.
Roller and Brush Quick-Switch Technique
Switching between tools seamlessly saves time and ensures a polished look.
-
Roller for Speed: Use a medium-nap roller (3/8-inch) for smooth walls, loading it from a tray with a textured ramp to avoid over-saturation. Roll in a “W” pattern, then fill in for even coverage.
-
Brush for Precision: Switch to an angled brush for edges, ceilings, and trim. Dip only the tip (about 1/3 of the bristle length) and use light, controlled strokes.
-
Transition Tip: Keep both tools loaded and alternate every few minutes—roll a section, then brush the edges— to maintain a wet edge and avoid lap marks.
Maximize Efficiency with a Paint Tray
A paint tray is your secret weapon for a one-day challenge.
-
Even Loading: Pour paint into the tray’s well (half-full to prevent spills) and roll or brush off excess on the ramp. This ensures consistent application without drips.
-
Speed Boost: Use a tray liner or aluminum foil for quick color changes or cleanup—swap it out in seconds.
-
Mobility: Place the tray on a rolling cart or secure it to a ladder for easy access across the room.
Pro Tips for Success
-
Prep is Key: Spend extra time taping and prepping to avoid mid-project fixes.
-
Lighting Check: Paint in natural light to spot uneven areas; adjust as needed during touch-ups.
-
Tool Care: Rinse rollers and brushes in warm water (for water-based paint) or mineral spirits (for oil-based) immediately after use to save time later.
Common Pitfalls to Avoid
-
Rushing Drying Time: Applying a second coat too soon causes streaks. Wait the recommended drying period.
-
Overloading Tools: Too much paint on the roller or brush leads to drips—use the tray to regulate.
-
Skipping Breaks: Fatigue causes sloppy work; stick to the schedule with short rests.
Tools You’ll Need
-
Paint Roller: 9-inch with medium nap for walls.
-
Paint Brush: 2-inch angled for edges and trim.
-
Paint Tray: With liner for easy loading and cleanup.
-
Extras: Drop cloths, painter’s tape, putty knife.
Final Thoughts
A one-day wall refresh is achievable with a clear plan, efficient tool use, and a trusty paint tray. Whether you’re prepping for a party or just craving a change, this guide helps you nail it by evening. Grab your roller and brush, and start painting today!


0 comments